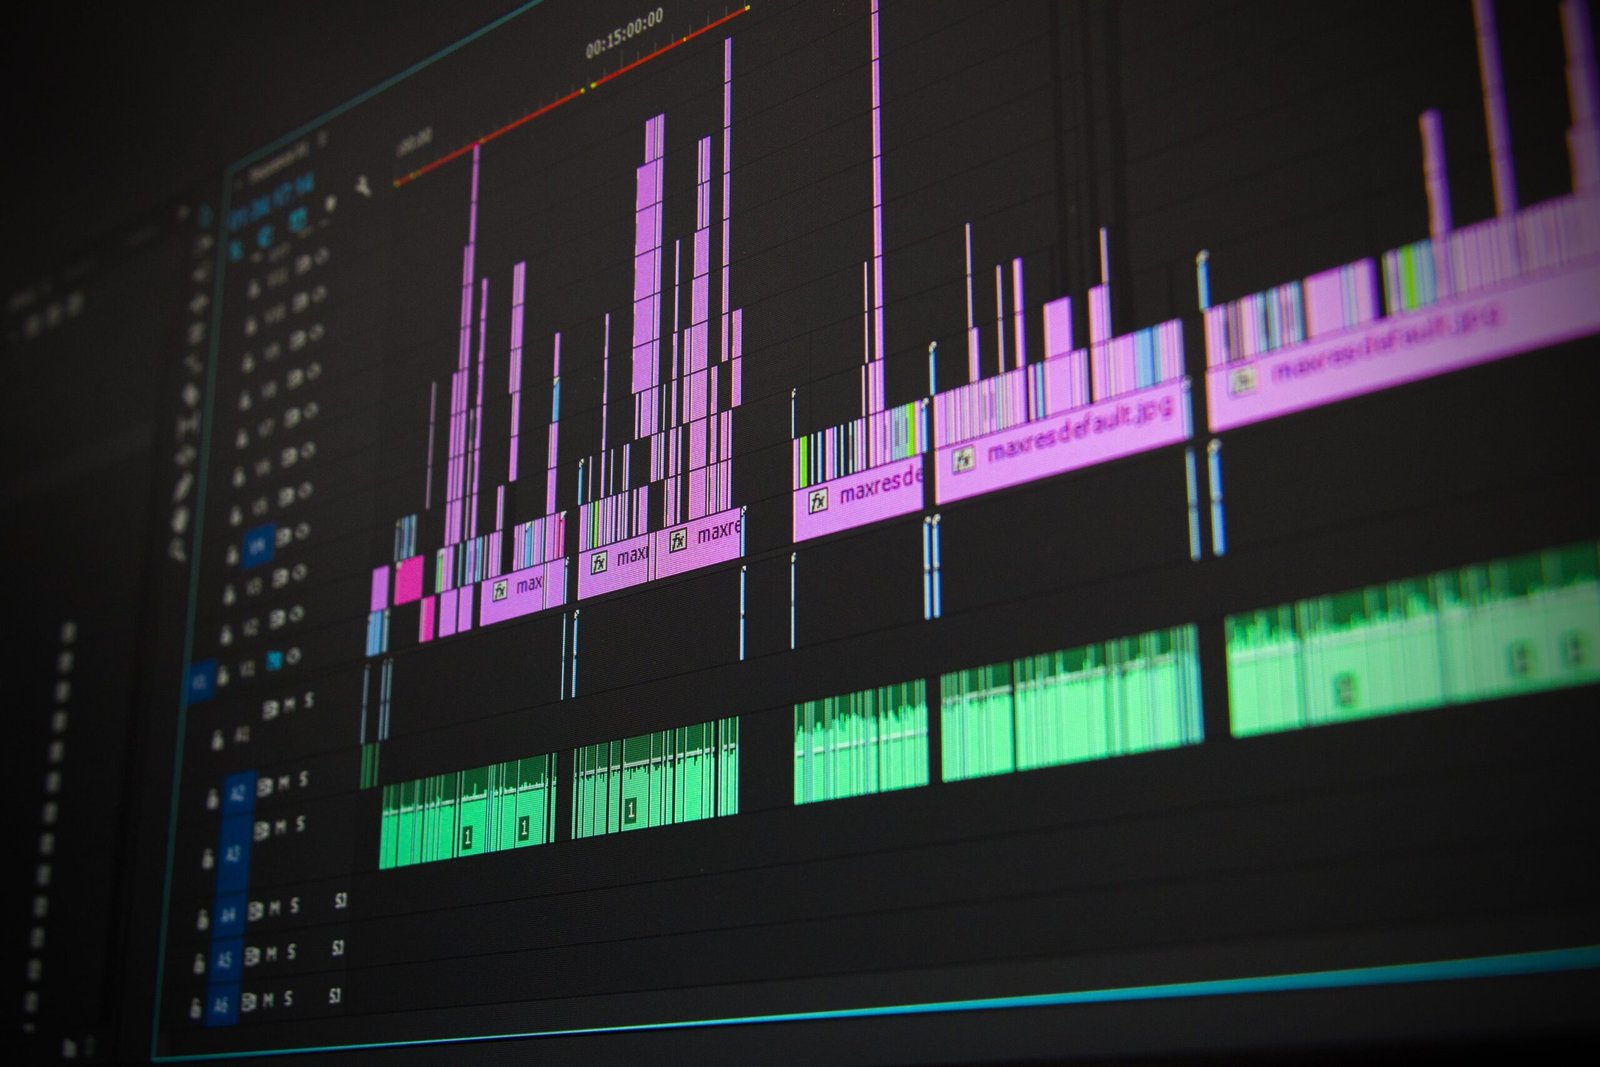
How to Export Videos in Premiere Pro: A Step-by-Step Guide

Exporting videos in Adobe Premiere Pro is an essential step in the post-production process. Whether you’re creating content for YouTube, social media, or professional purposes, knowing how to export your videos properly is crucial to ensure the best quality and compatibility with different platforms.
In this guide, we will walk you through the step-by-step process of exporting videos in Premiere Pro. Let’s get started!
Step 1. Select Your Sequence
Before exporting your video, make sure you have selected the sequence you want to export. You can do this by clicking on the sequence in the Project panel or by selecting it from the timeline.
Step 2: Go to the Export Settings
Once you have your sequence selected, navigate to the File menu and click on ‘Export’ followed by ‘Media’ to open the Export Settings window.
Step 3: Choose the Format and Preset
In the Export Settings window, you can choose the format and preset for your video. Premiere Pro offers a wide range of options depending on your intended use. For example, if you’re exporting for YouTube, you can select the H.264 format and choose the YouTube 1080p HD preset.
Step 4: Adjust the Settings
After selecting the format and preset, you can further adjust the settings to optimize your video. You can modify the resolution, frame rate, bit rate, and other parameters according to your requirements. It’s essential to strike a balance between file size and video quality.
Step 5: Set the Output Destination
Next, choose where you want to save your exported video by selecting the output destination. You can specify a folder on your computer or an external storage device.
Step 6: Export the Video
Once you have configured all the settings, click on the ‘Export’ button to start the exporting process. Premiere Pro will render your video and save it to the specified output destination.
Step 7: Check the Exported Video
After the export is complete, it’s essential to check the exported video to ensure everything looks as expected. Play the video in a media player or import it back into Premiere Pro to review the quality, colors, and any other elements.
That’s it! You have successfully exported your video in Adobe Premiere Pro. Remember, the export settings may vary depending on your desired output and platform, so make sure to research and choose the appropriate settings for your specific needs.
By following this step-by-step guide, you can ensure that your videos are exported correctly and meet the necessary requirements for your intended use. Happy exporting!